The Dimensioner is an add-on product, designed to seamlessly integrate into a user’s existing machine or processing system. This guide walks users through the process of installing a Dimensioner into a Champ system.
- Parts Included in Kit
- Installing the Dimensioner
- Creating Dimensioner-Compatible Job Profiles
- Processing Mail with the Dimensioner
Parts Included in Kit
Part | Part ID/Description | Quantity |
|---|---|---|
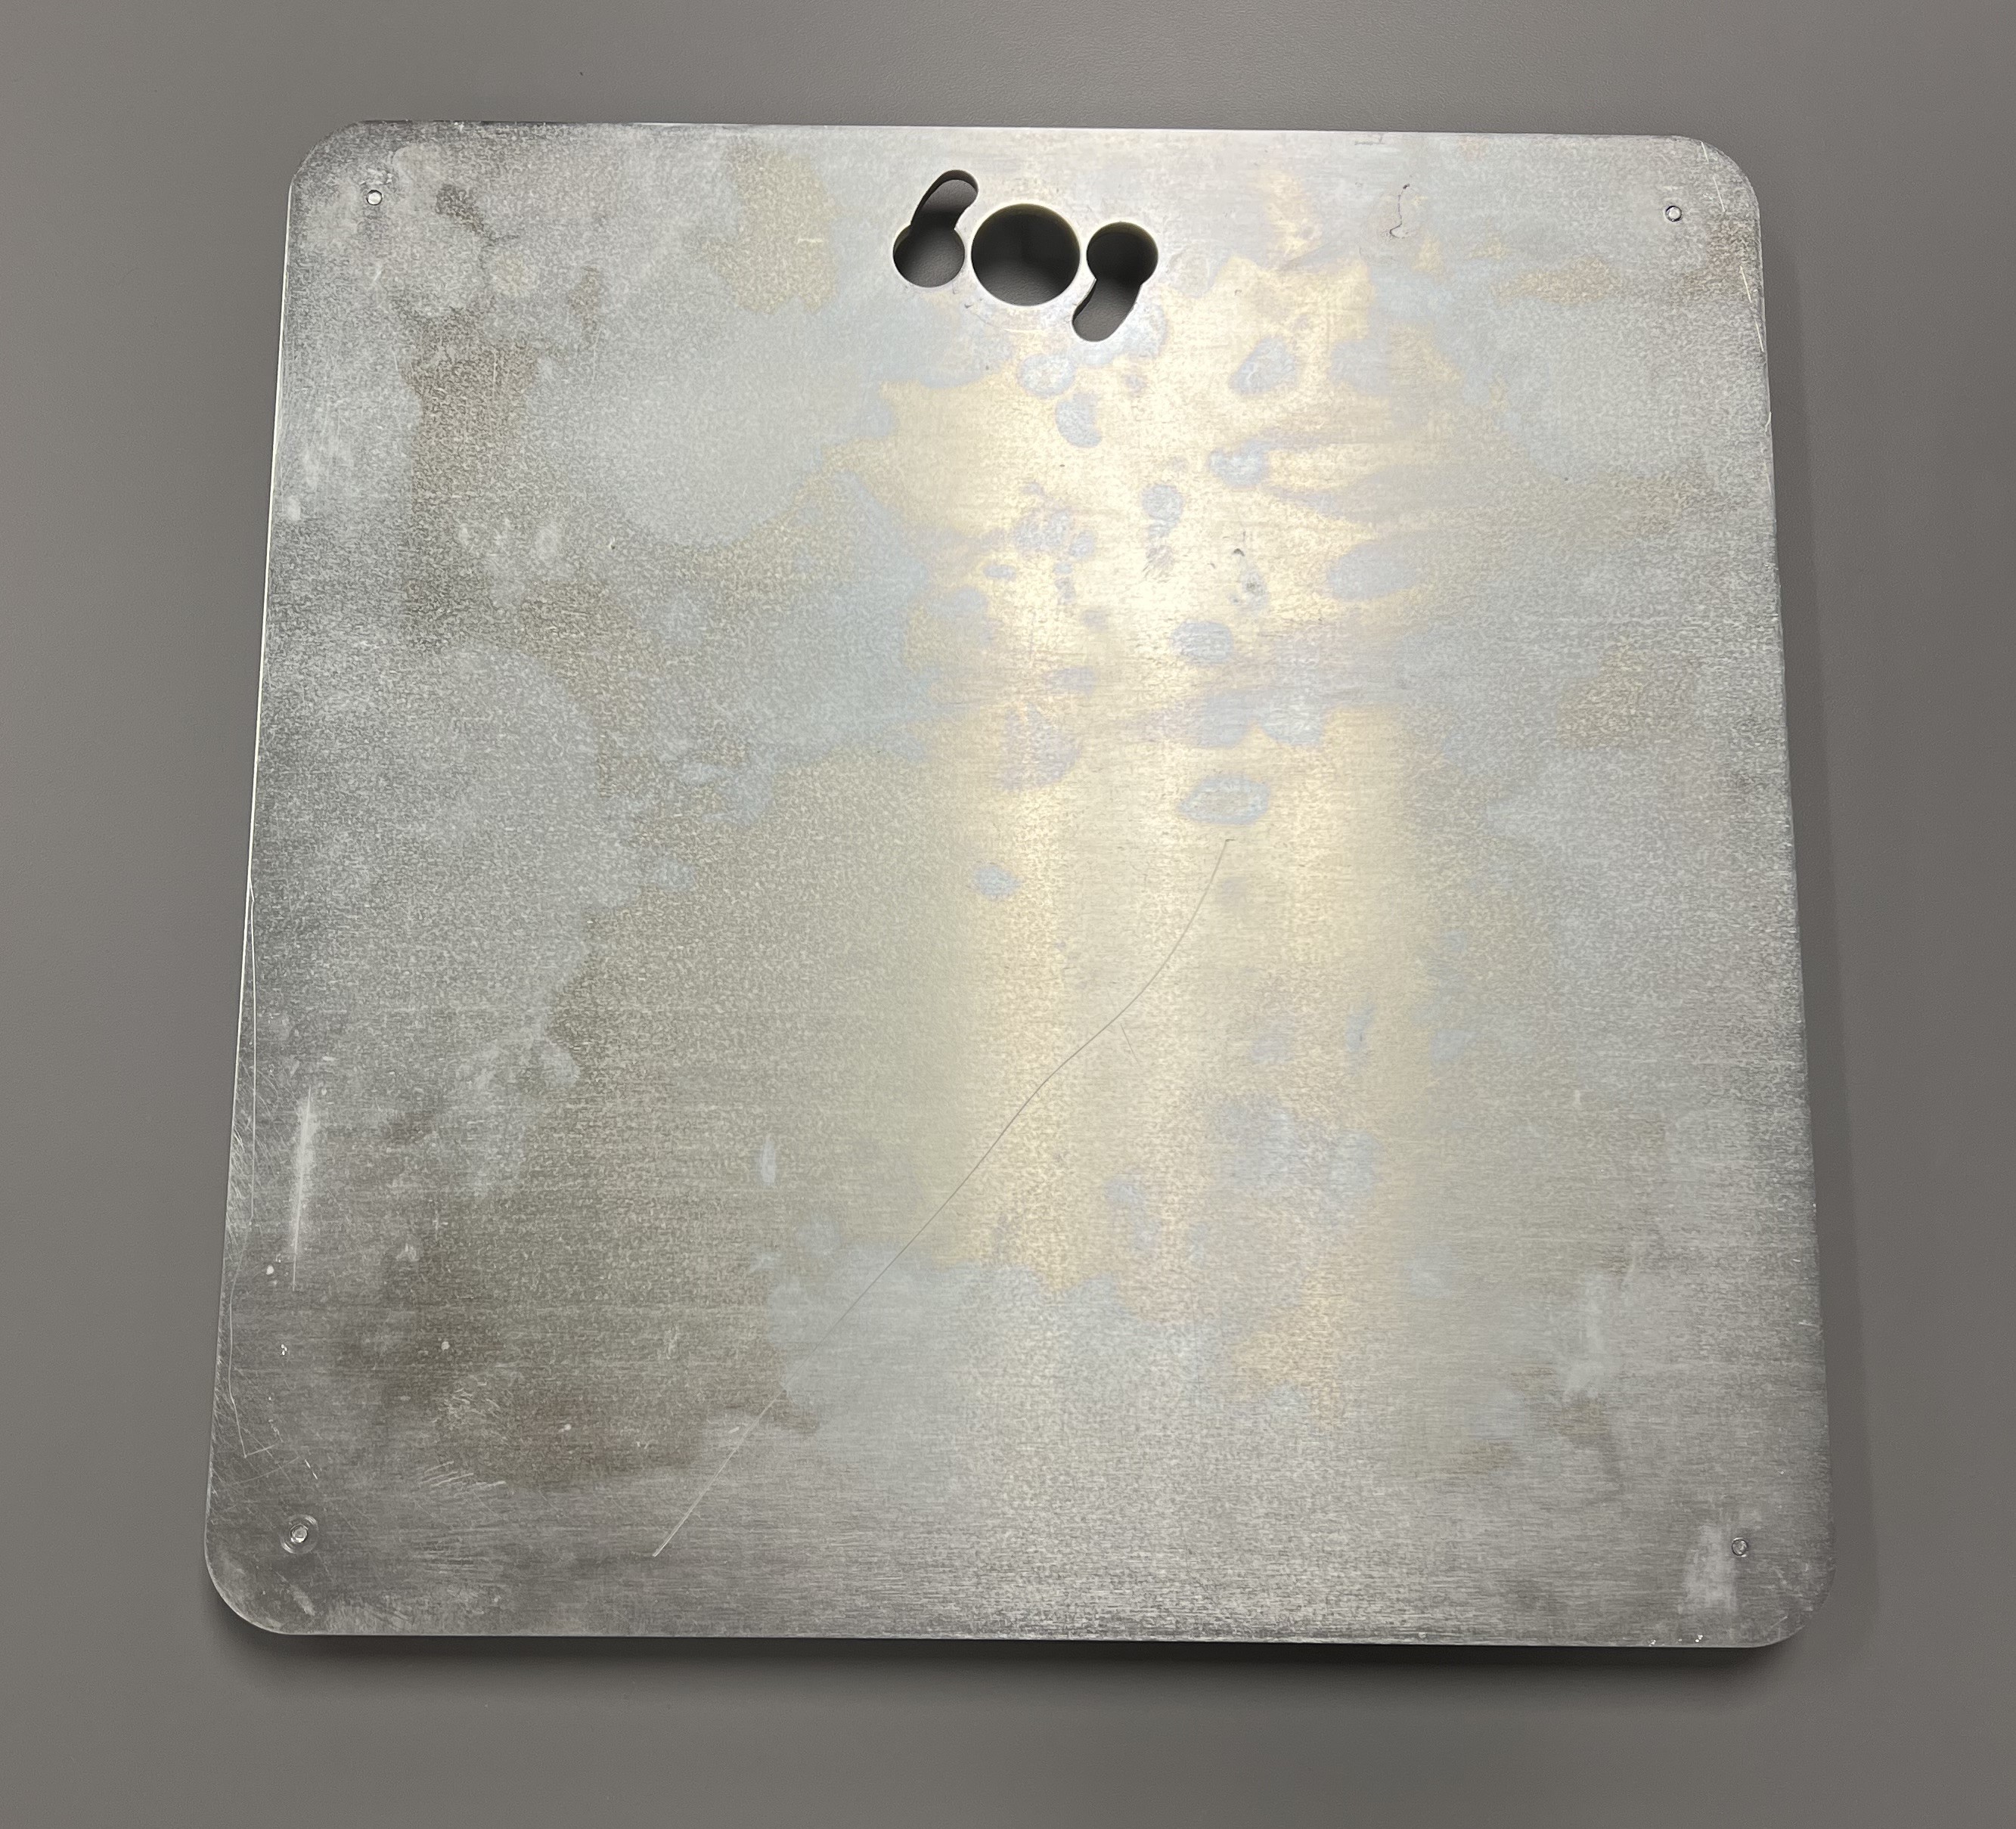
Dimensioner Mounting Plate | 1013986-01 ASSY, CHAMP DIMENSIONER MOUNTING PLATE | 1 |
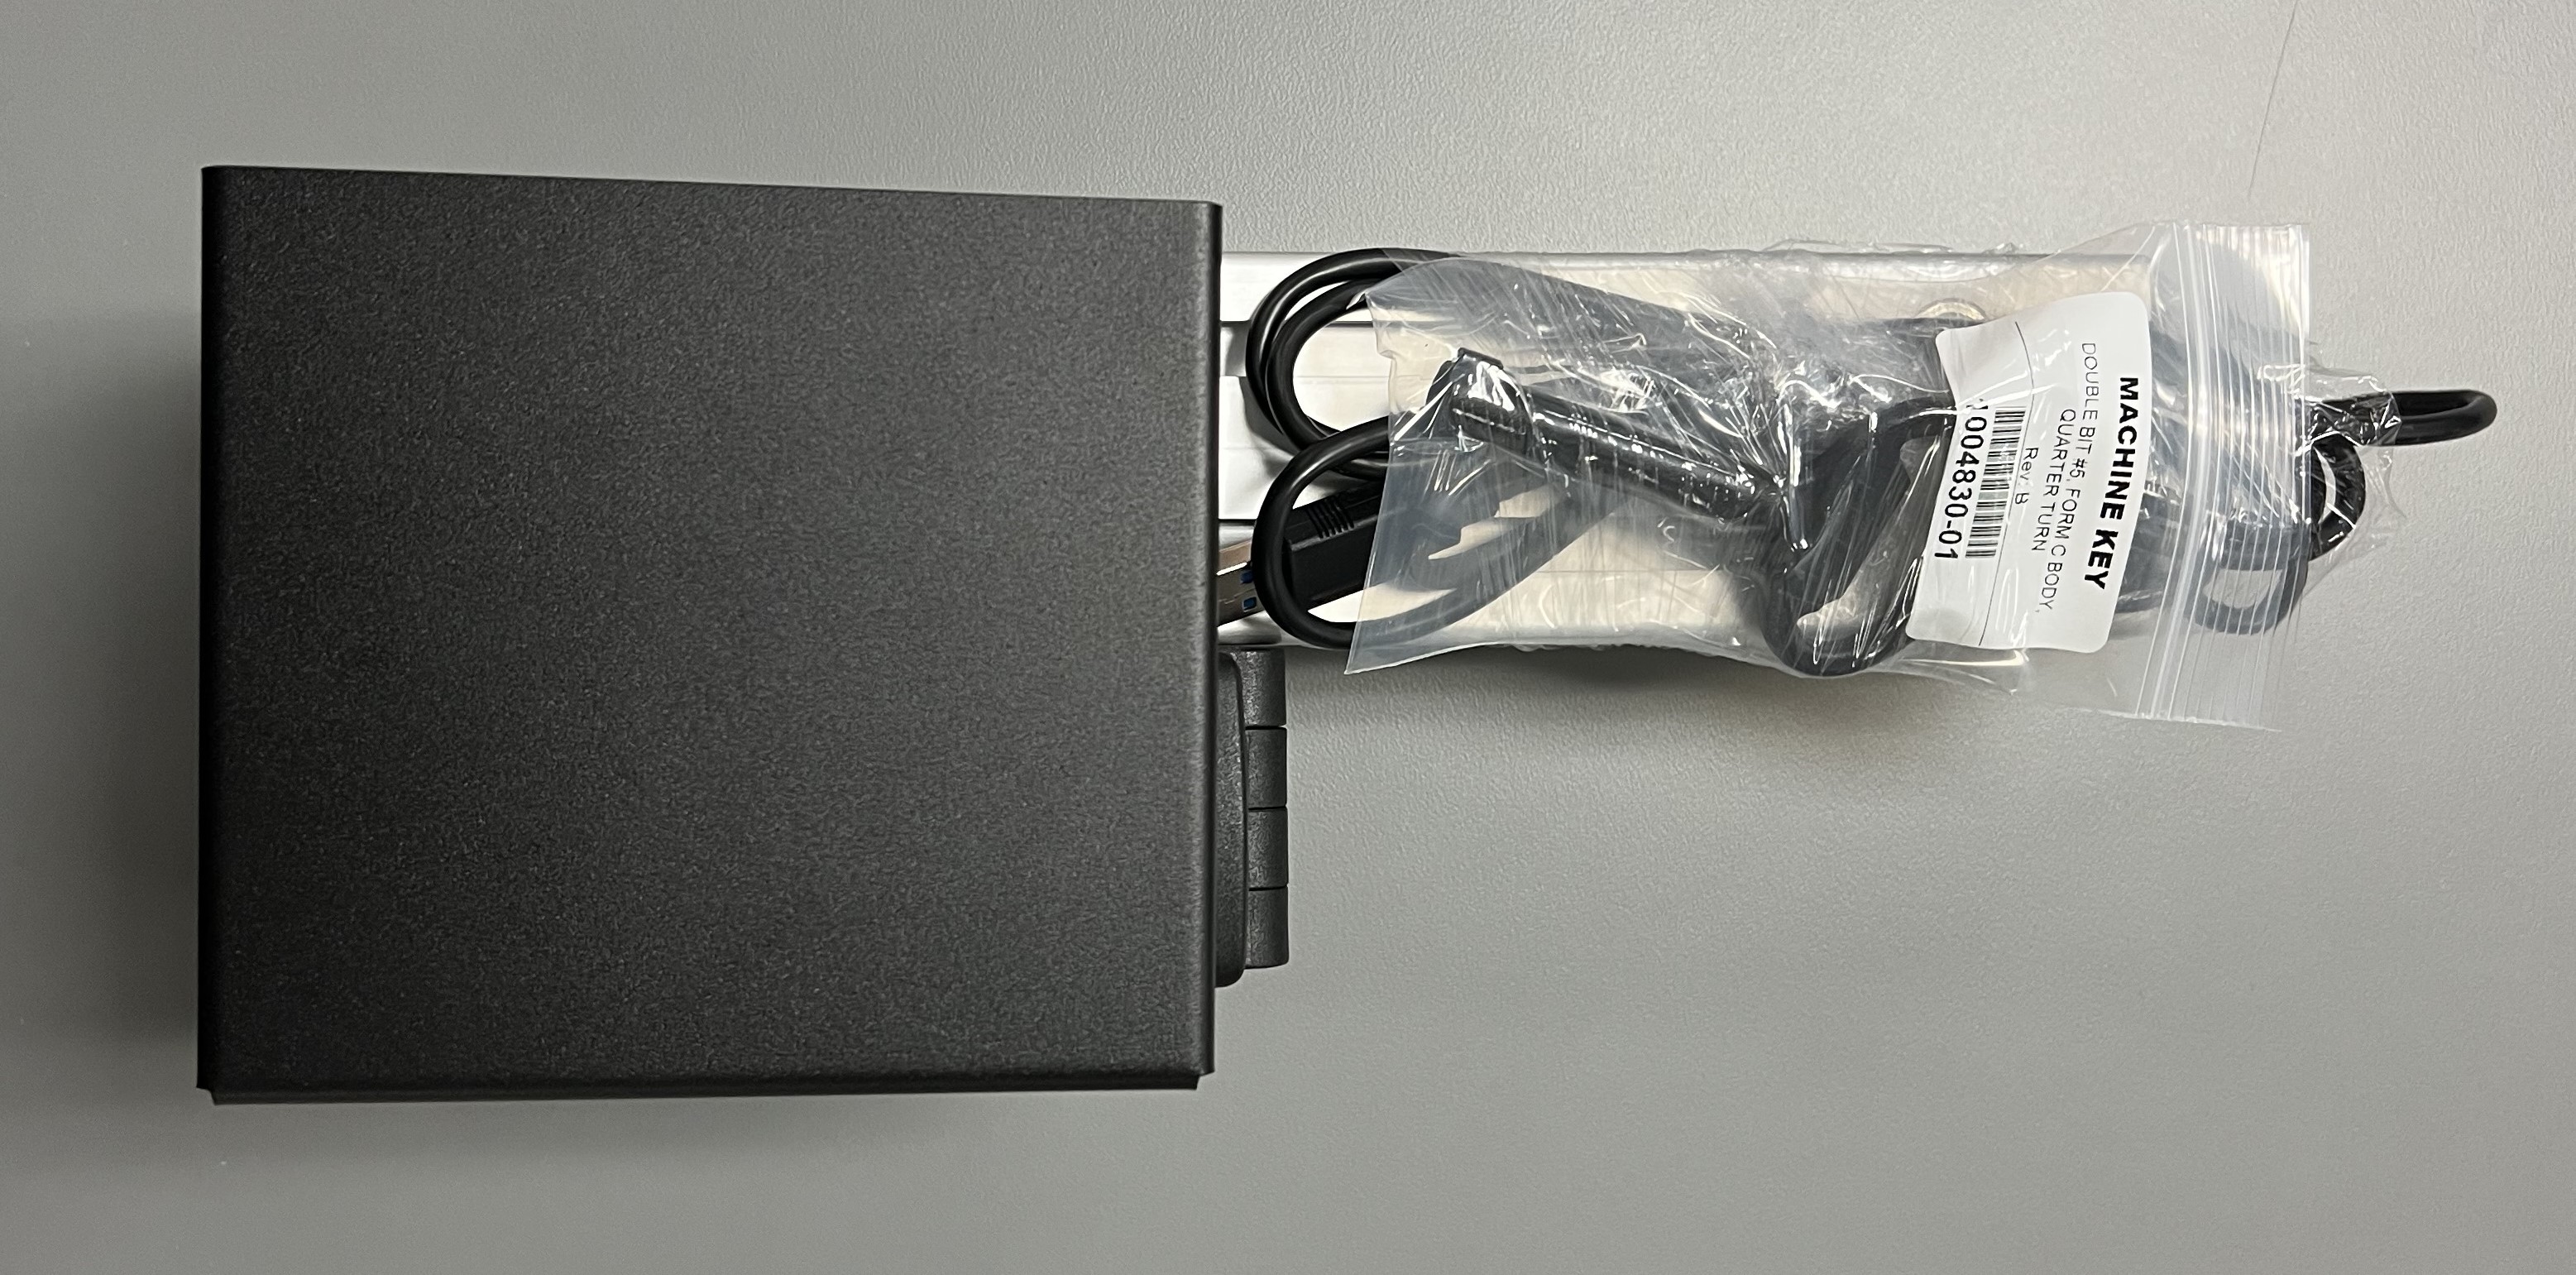
Camera Arm Mounting Assembly **Attached to the Camera Arm is a USB cable and the Machine Key** | 1013987-01 ASSY, CHAMP DIMENSIONER CAMERA BOX/MOUNTING ARM | 1 |
Camera Post | 1013919-46-000 CAMERA POST< 46.00", CHAMP | 1 |
The Dimensioner will arrive in two separate packages:
Package #1 → This will be a large, flat, square box. Located in this package will be Dimensioner Mounting Plate (1013986-01) and the Camera Arm Mounting Assembly (1013987-01). This box is quite heavy, so be careful when lifting or moving the box.
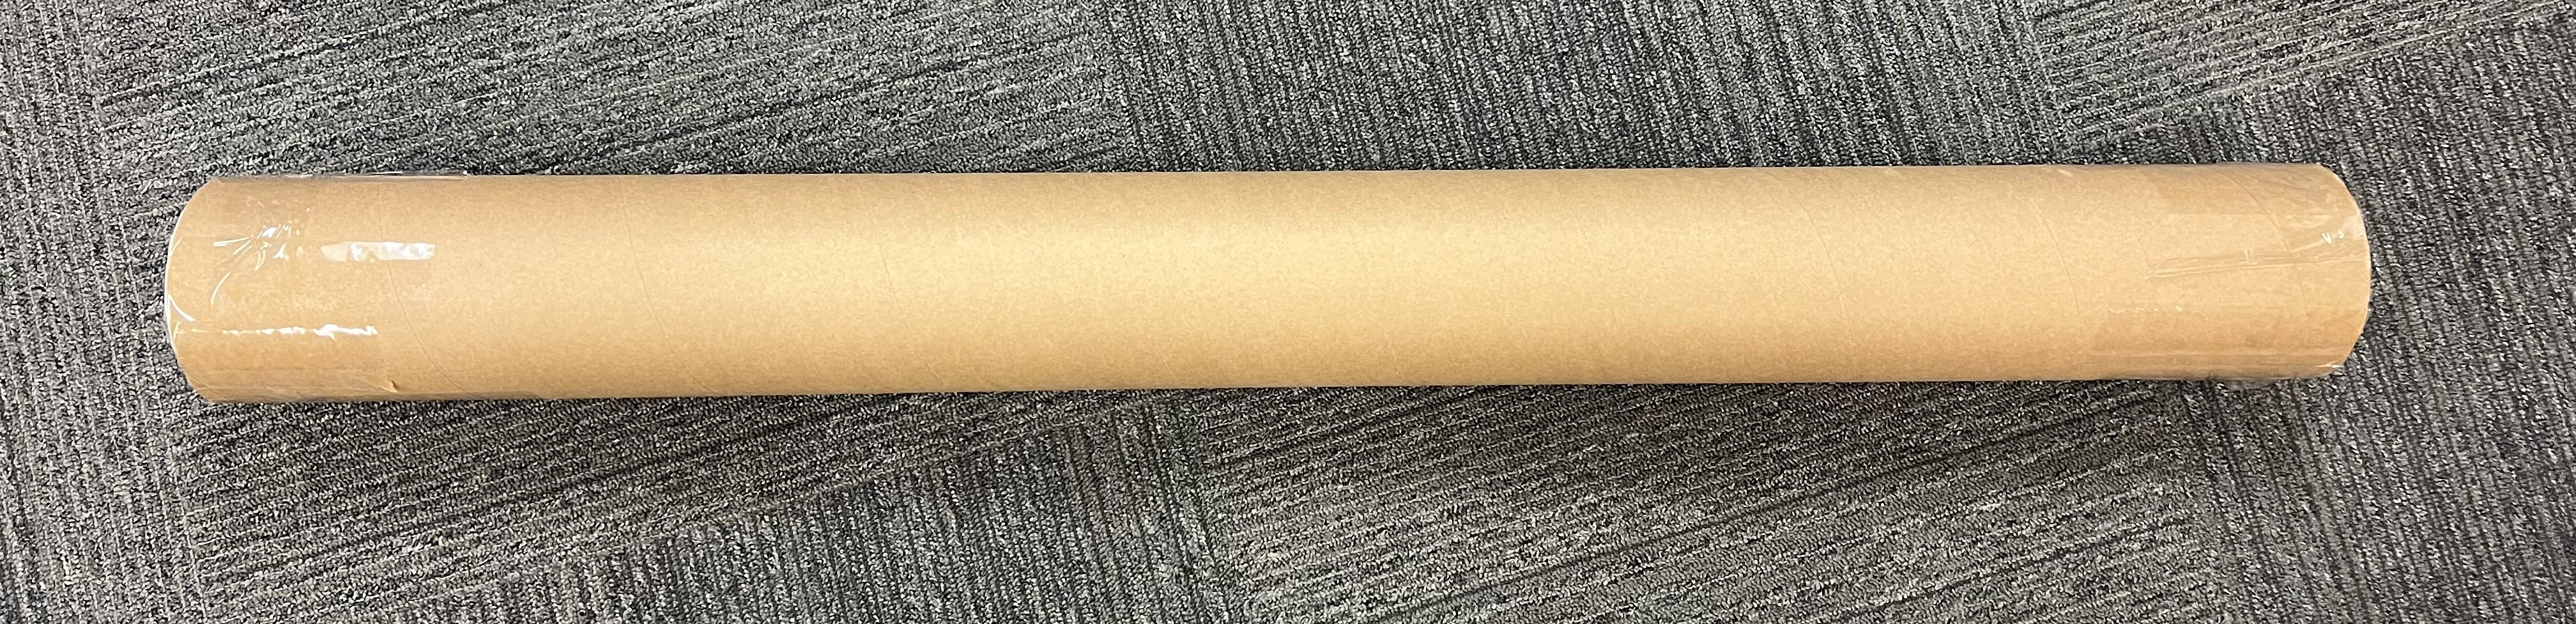
Package #2 → This will be a long, cylindrical package. Located in this package will be the Camera Post (1013919-46-000).
Installing the Dimensioner
Take the Camera Arm (1013987-01) out of Package #1 and remove the protective wrapping around arm.
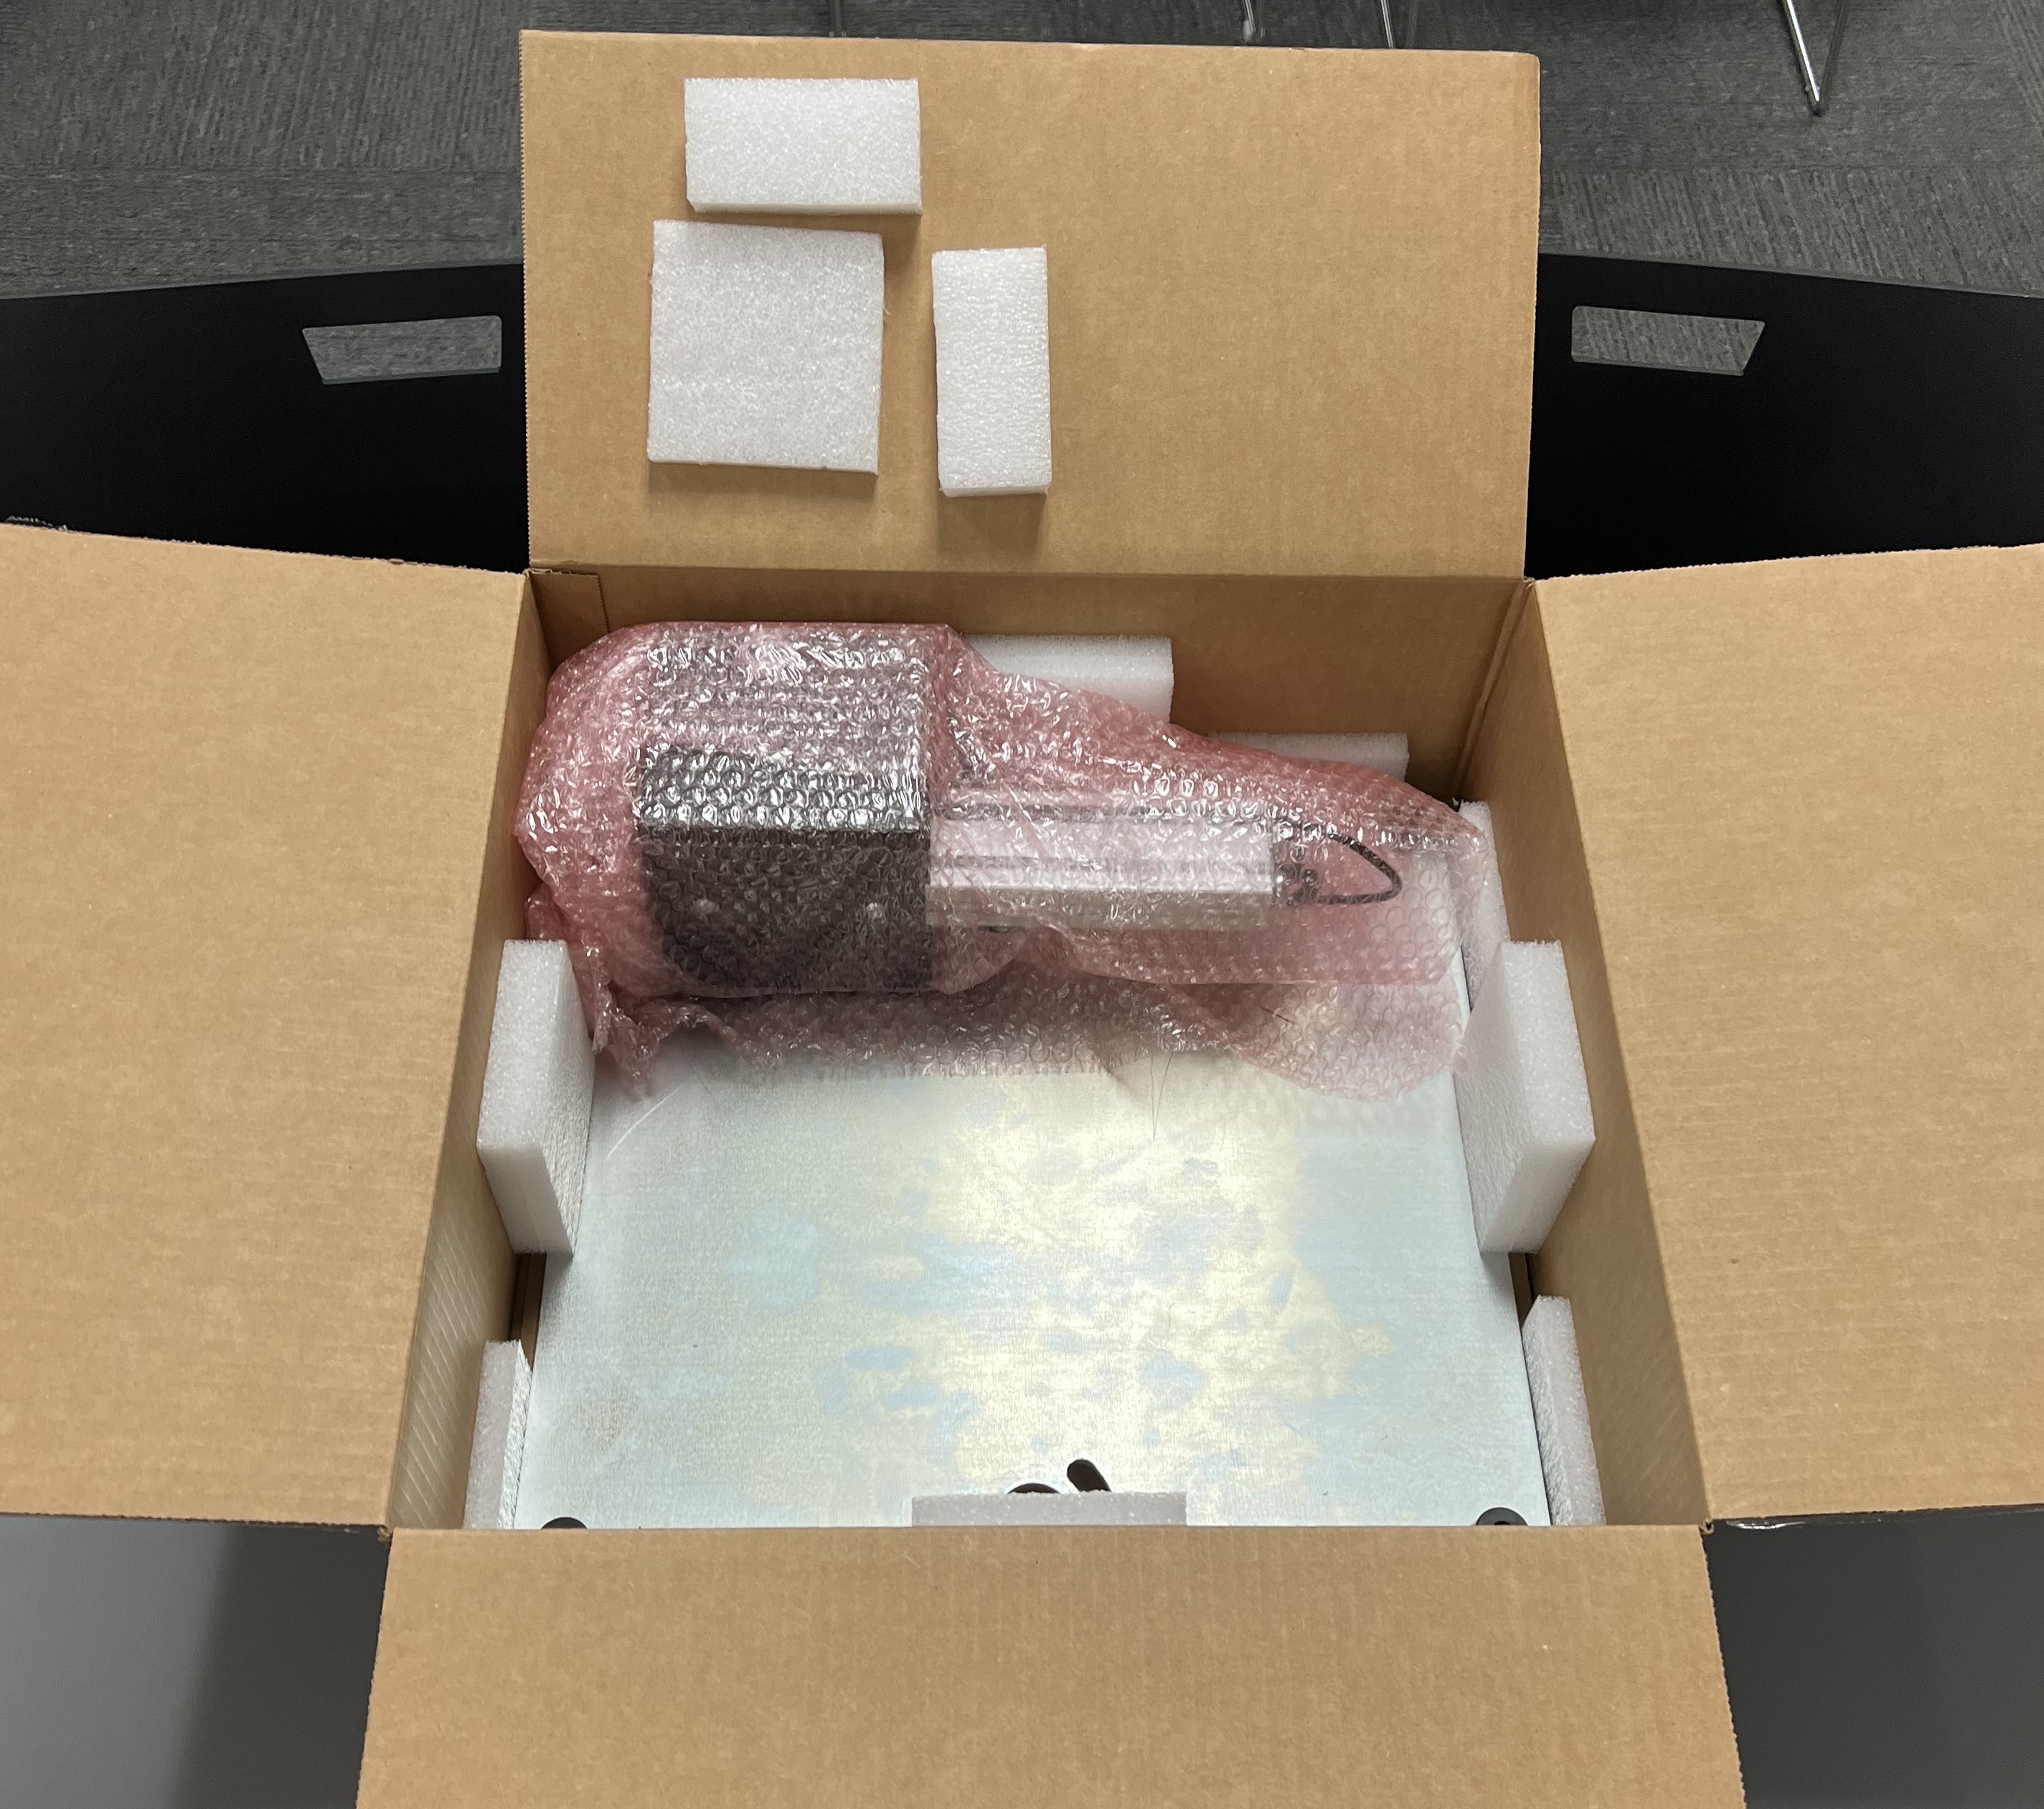
The USB cable will already be plugged into the camera, and the Machine Key for the Dimensioner's camera will be wrapped to the Camera Arm.
Carefully take the Dimensioner Mounting Plate (1013986-01) out of Package #1 and place the Mounting Plate feet-down on a flat workspace.
Take the Camera Post (1013919-46-000) out of Package #2.
Grab the Camera Post and line up the pins on the bottom of the post with the holes on the Mounting Plate.
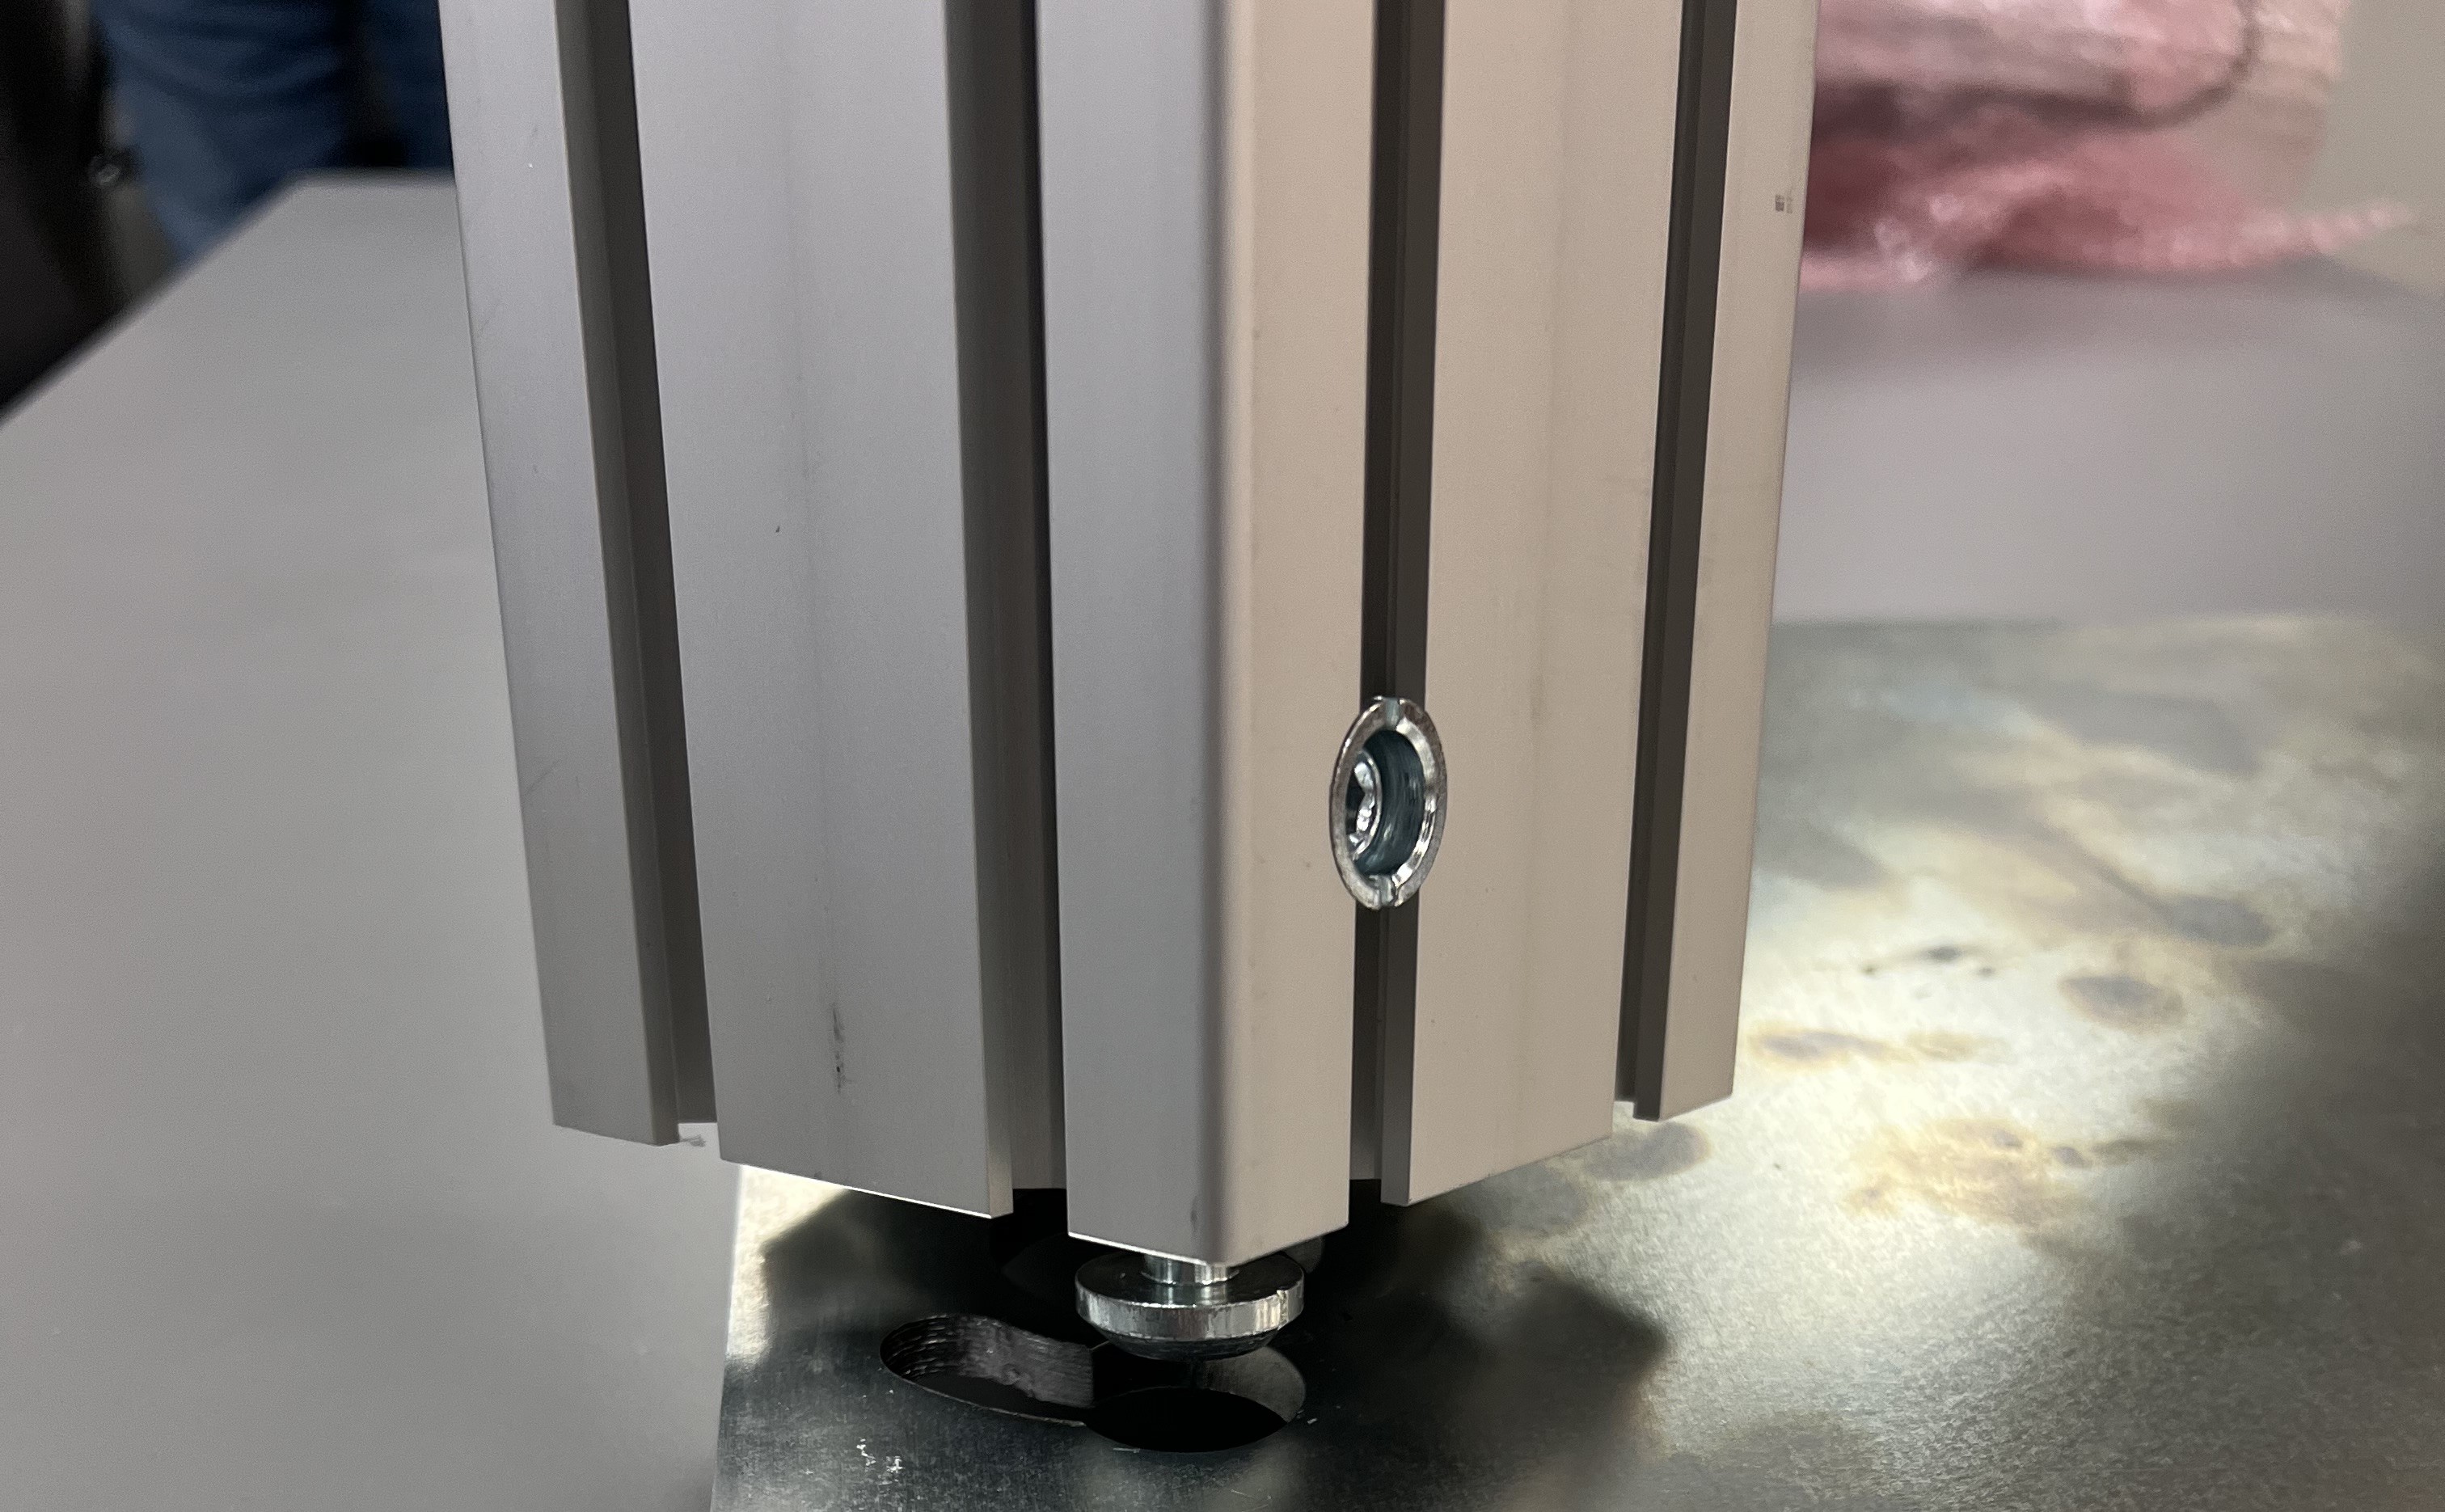
- Insert the pins into the holes and rotate the post 45° degrees to align the Camera Post so that it is parallel to the Mounting Plate.
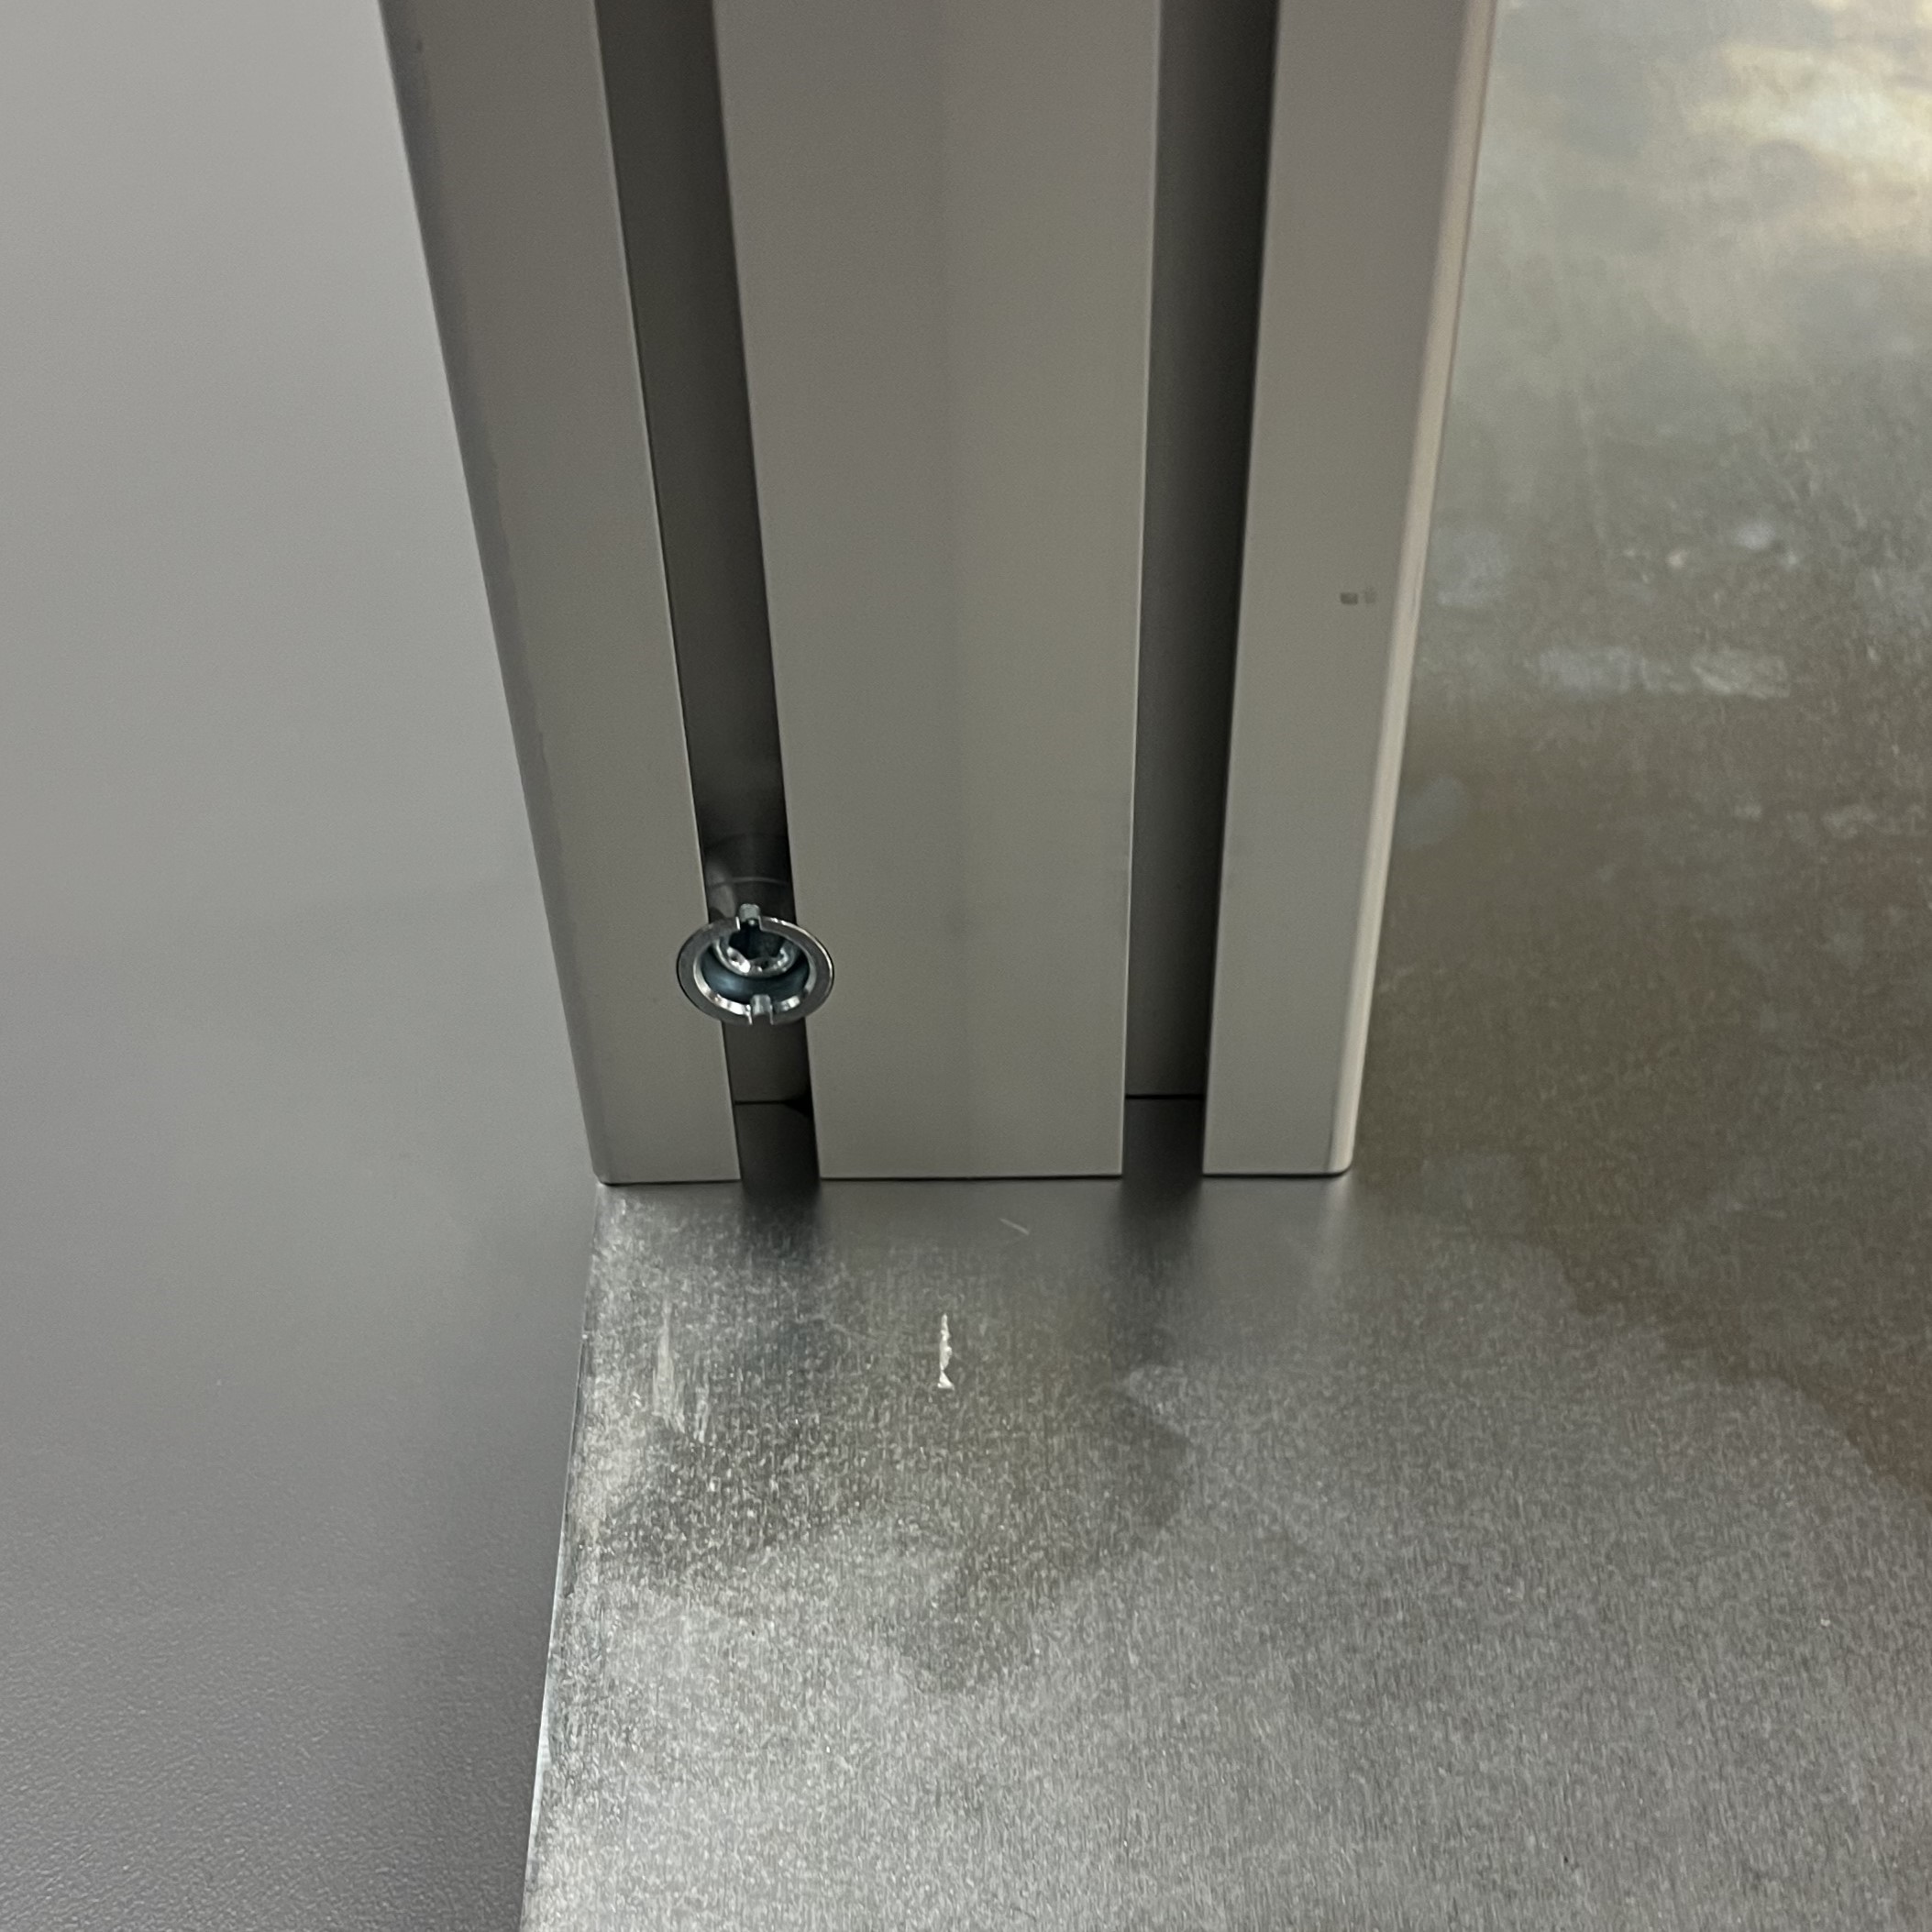
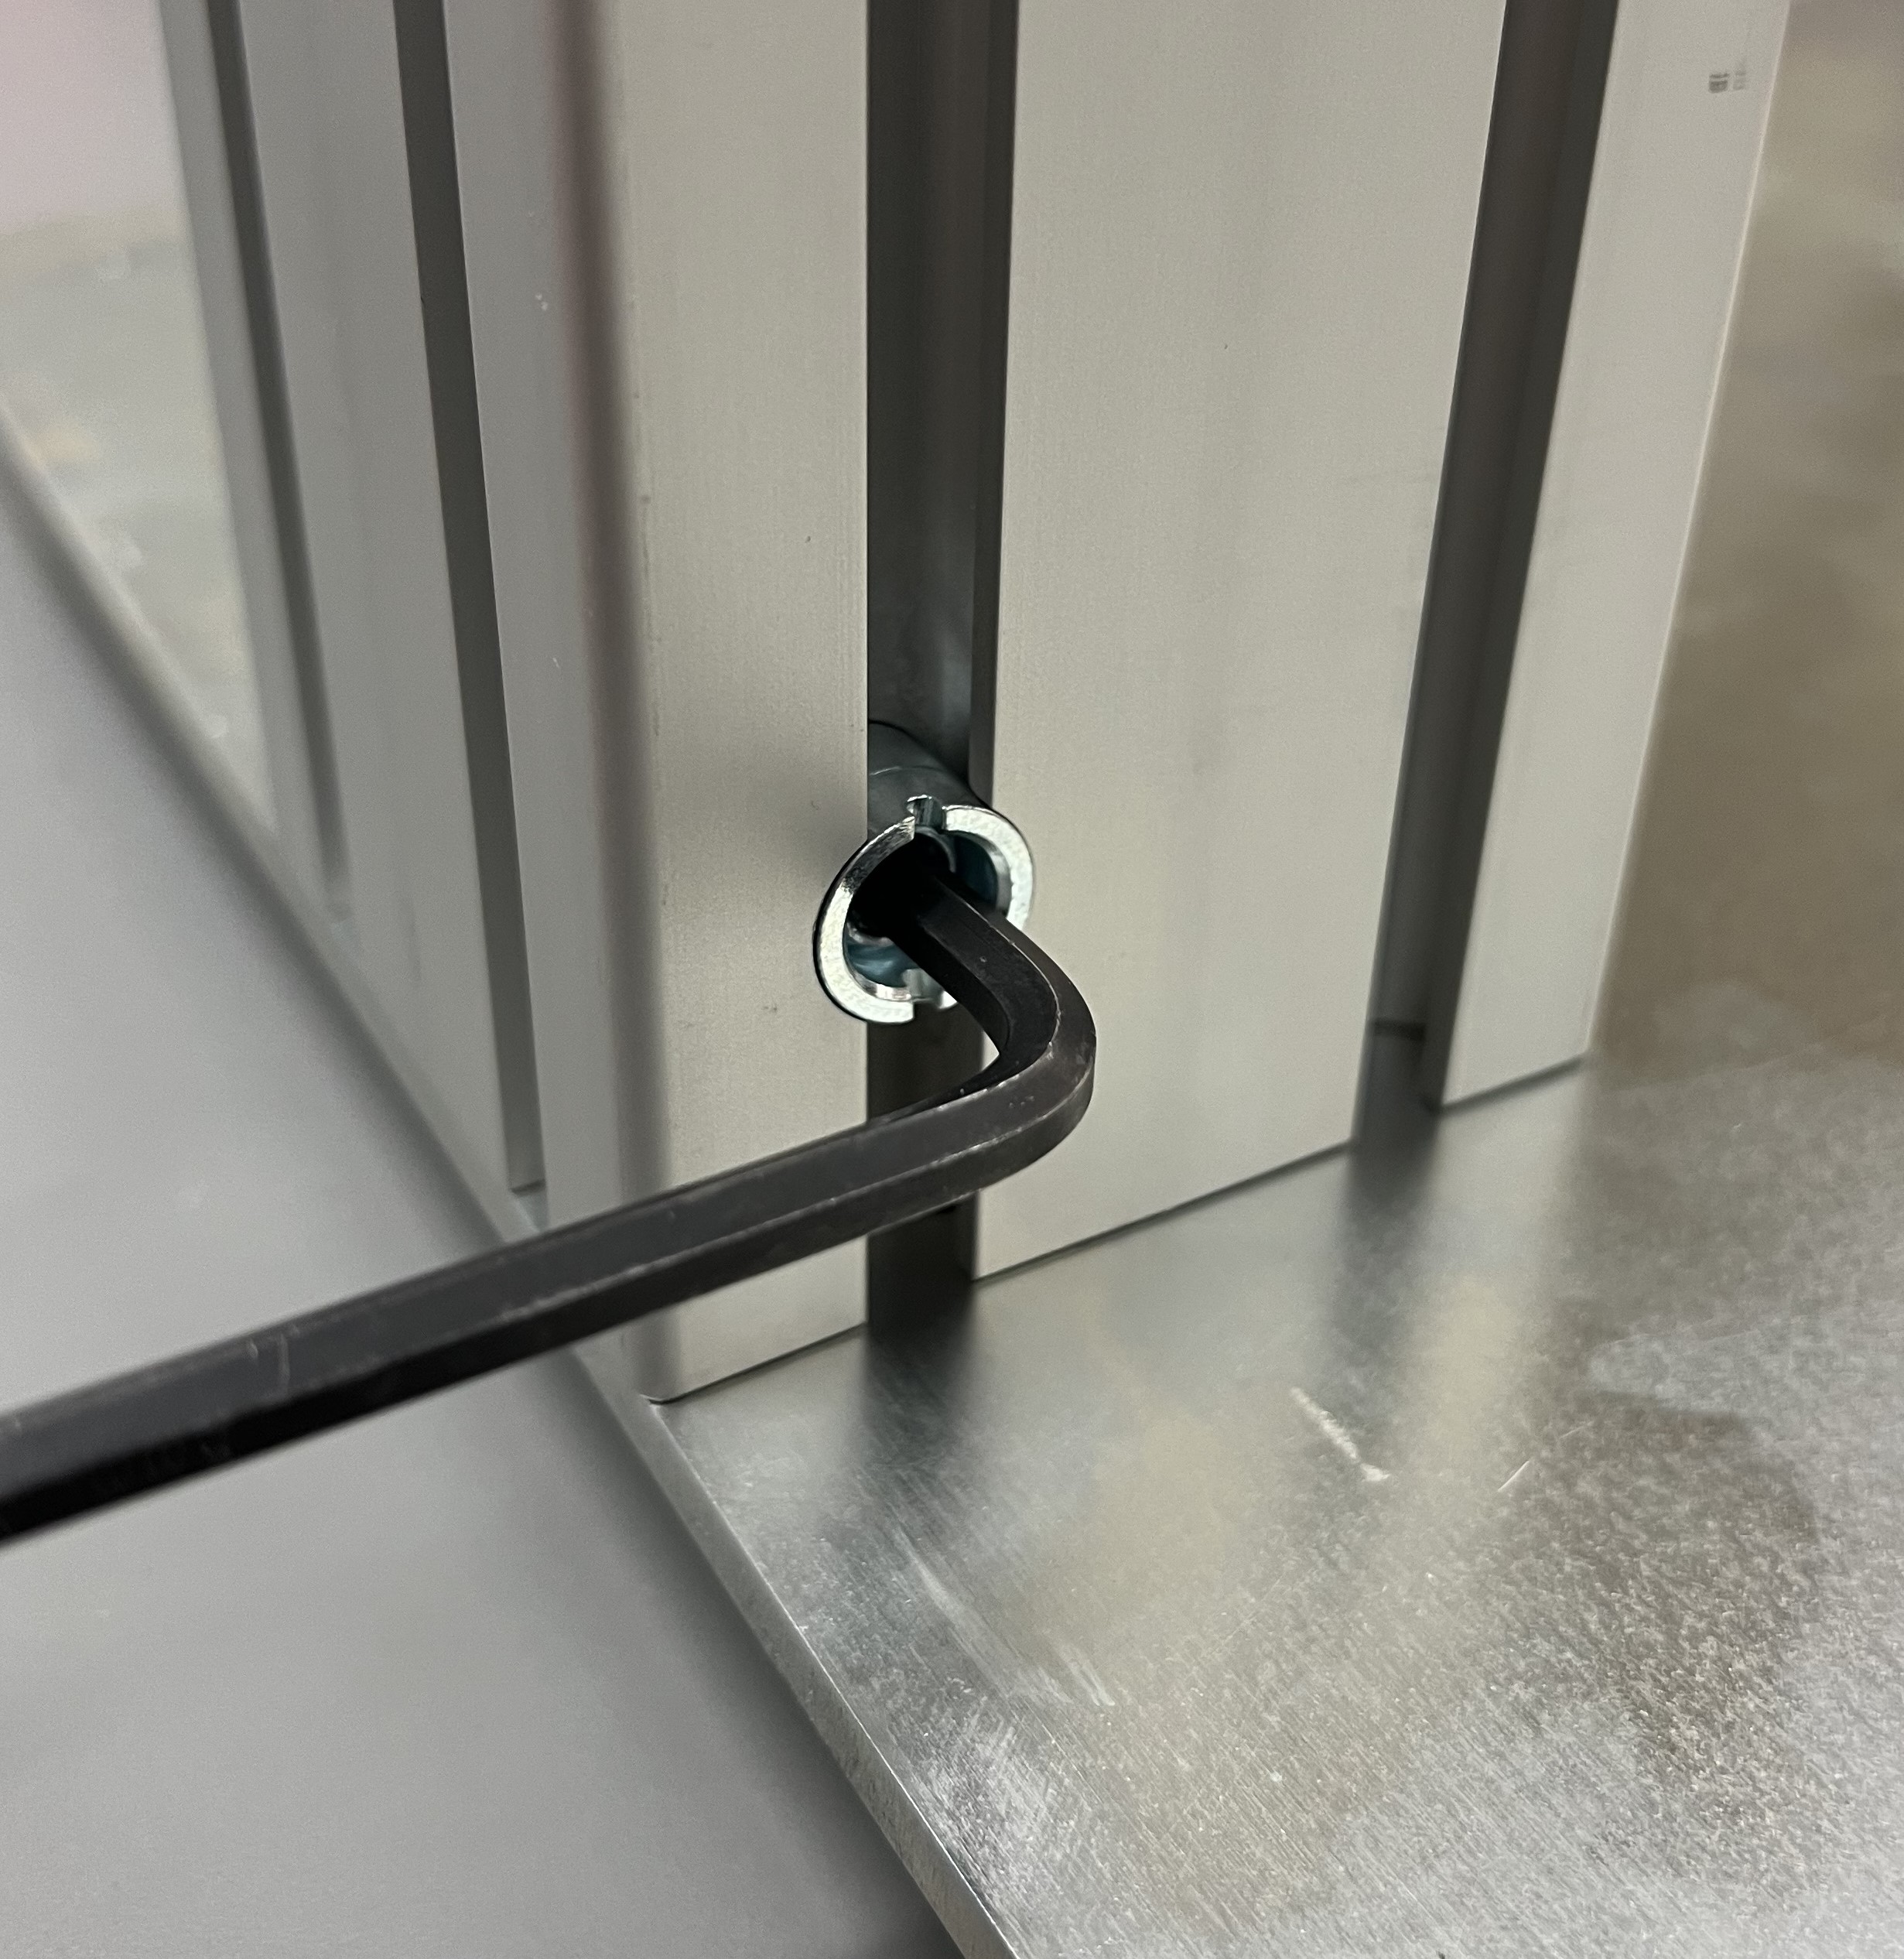
If the user is having an issue with fitting the pins through the holes, they can use a 5mm Hex Key to slightly loosen the screw(s) that adjust the pins.
Using a 5mm Hex Key, tighten the set screws to secure the Camera Post in place on the Mounting Plate.
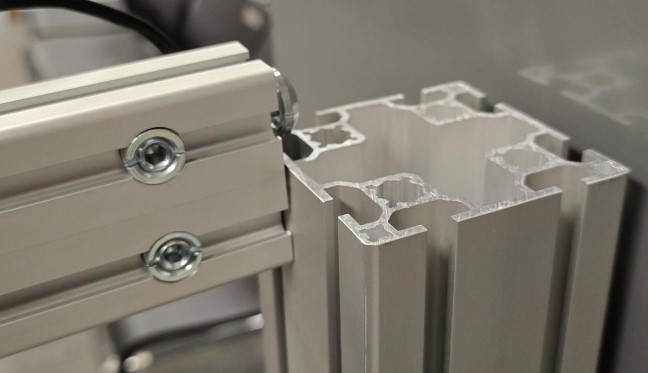
- Grab the Camera Arm, line up the knobs on the back end of the Camera Arm with the front-left slot on the Camera Post and insert the knob into the slot.
Line up the top edge of the Camera Arm so that it is no more than 1/16 inches above the top of the Camera Post. This will put the Dimensioner's camera (located on the Camera Arm) at a height of 39 inches above the Champ's scale.
Using the 5mm Hex Key, tighten the set screws to secure the Camera Arm in place on the Camera Post.
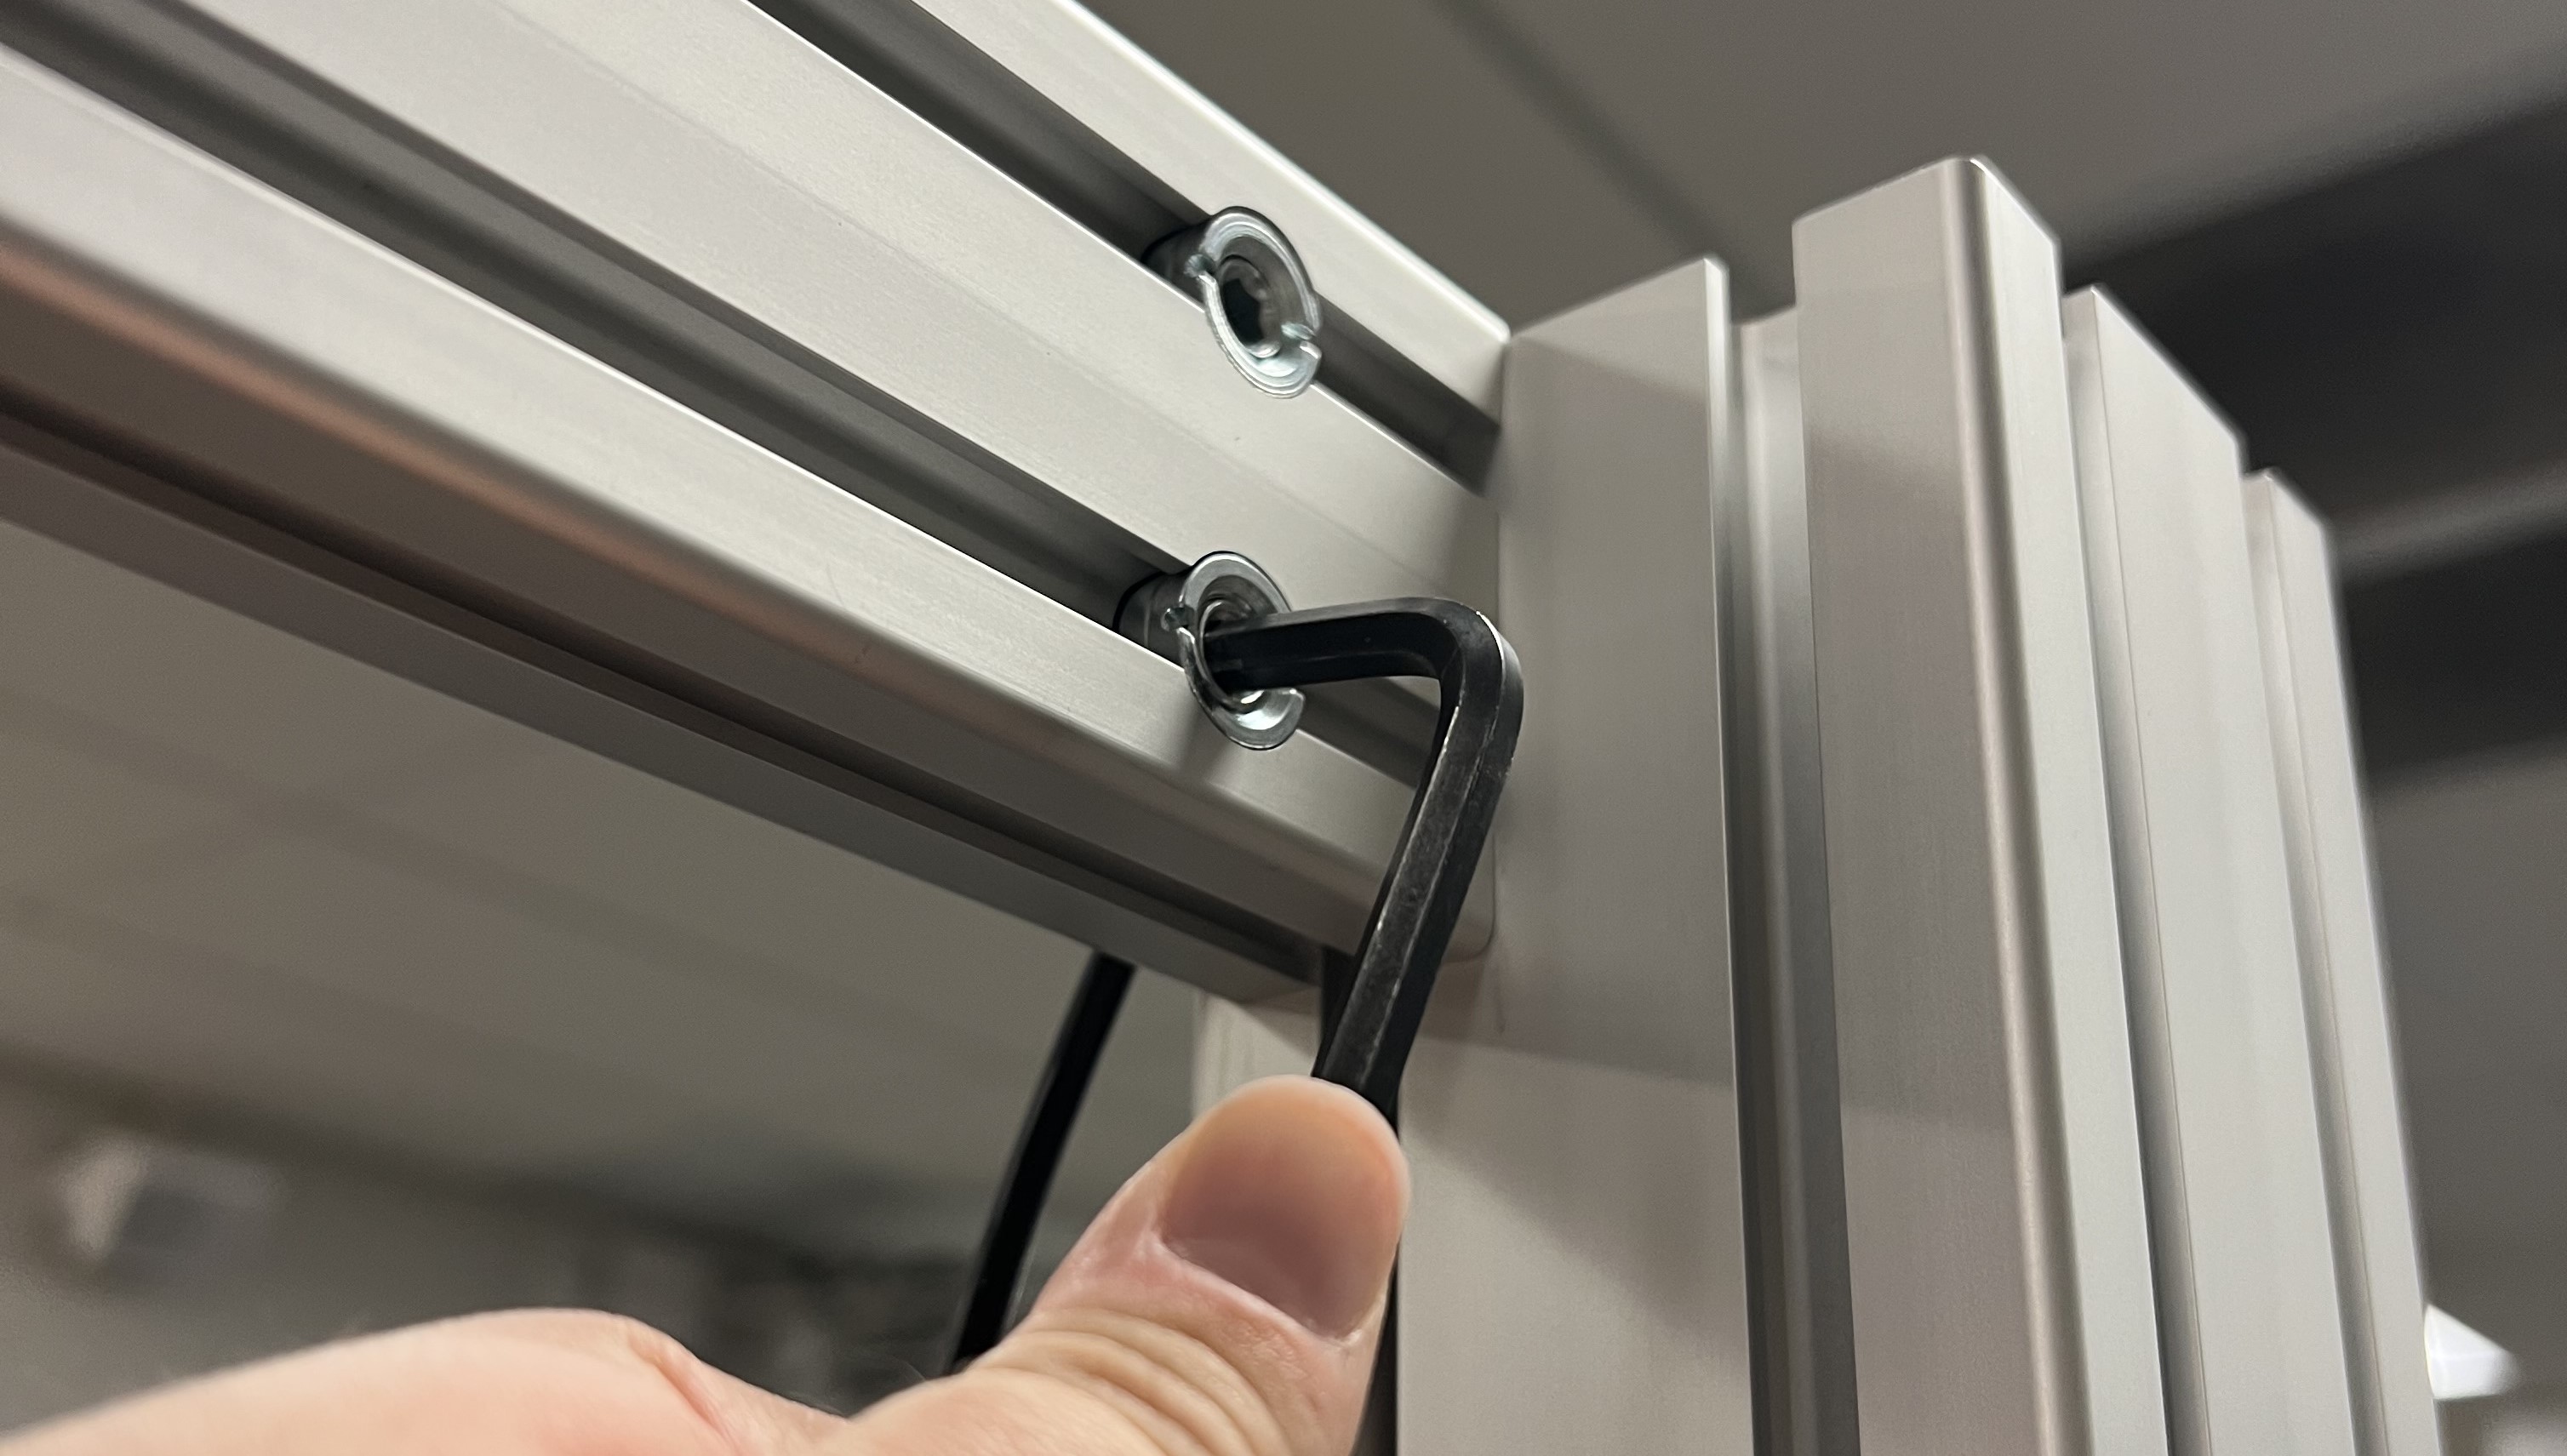
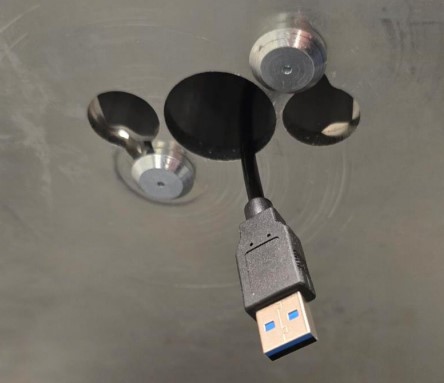
- Attached to camera on the Camera Arm is a USB cable. Feed the USB A end of the cable through the center of the Camera Post and out through the bottom of the hole in Mounting Plate.
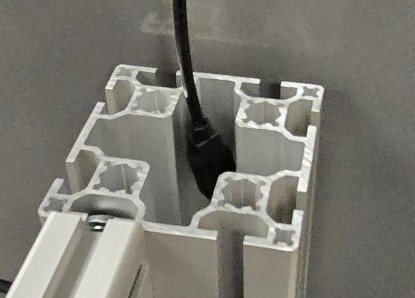
Carefully pull the rest of the cable through the Camera Post and out of the hole.
Move the Dimensioner to the location of the Champ’s scale and place the scale on top of the Dimensioner's Mounting Plate (as shown below).
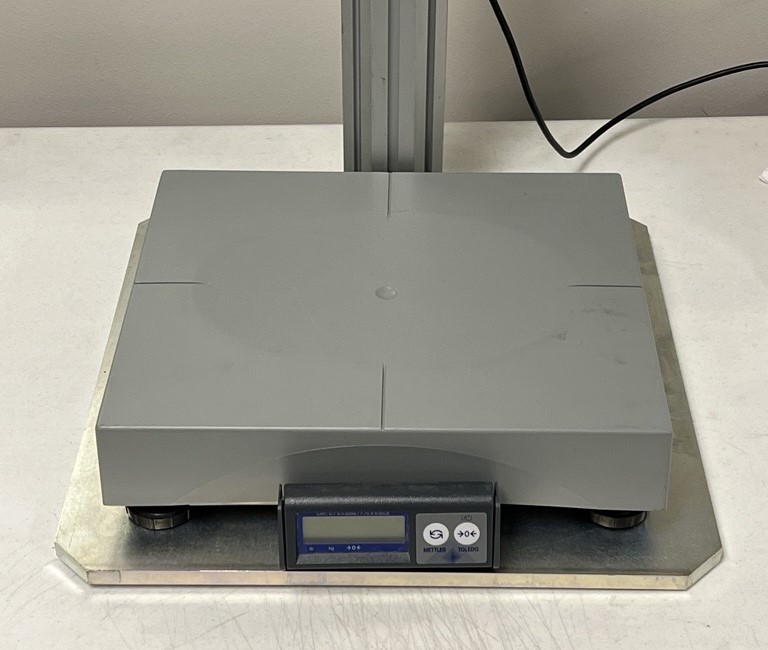
- Plug the USB A end of the cable into a USB 3.0 Port on the Champ’s computer. The Dimensioner WILL NOT work when plugged into any other port type.
The Dimensioner has now been assembled.

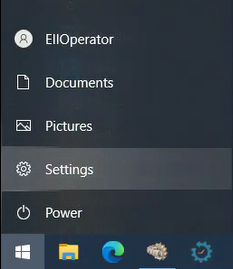
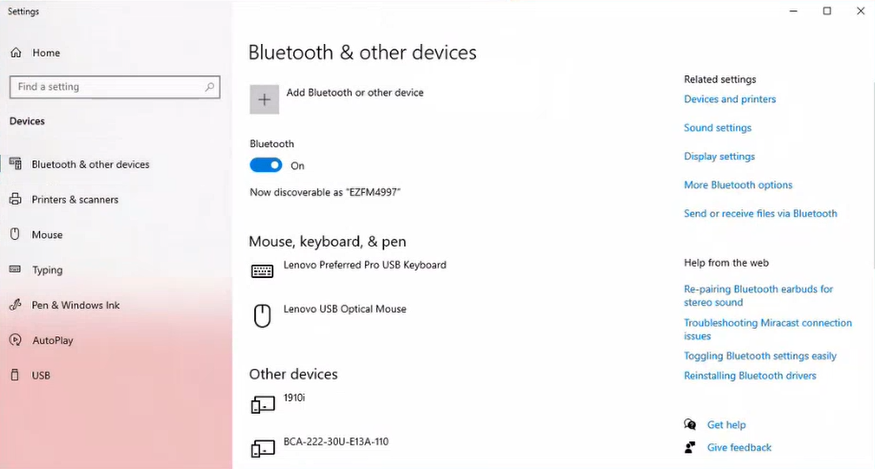

After installing the Dimensioner, users will need to create Dimensioner-compatible job profiles to use when running a job with the Dimensioner. Users can create as many compatible job profiles as needed.
On the computer desktop, click on the Console shortcut.

The Console will open.
In the Console, select the Job Profile Editor from the "Editors" list.
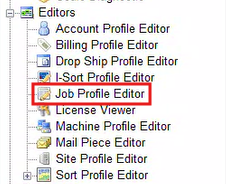
The user will be directed to the Editor.
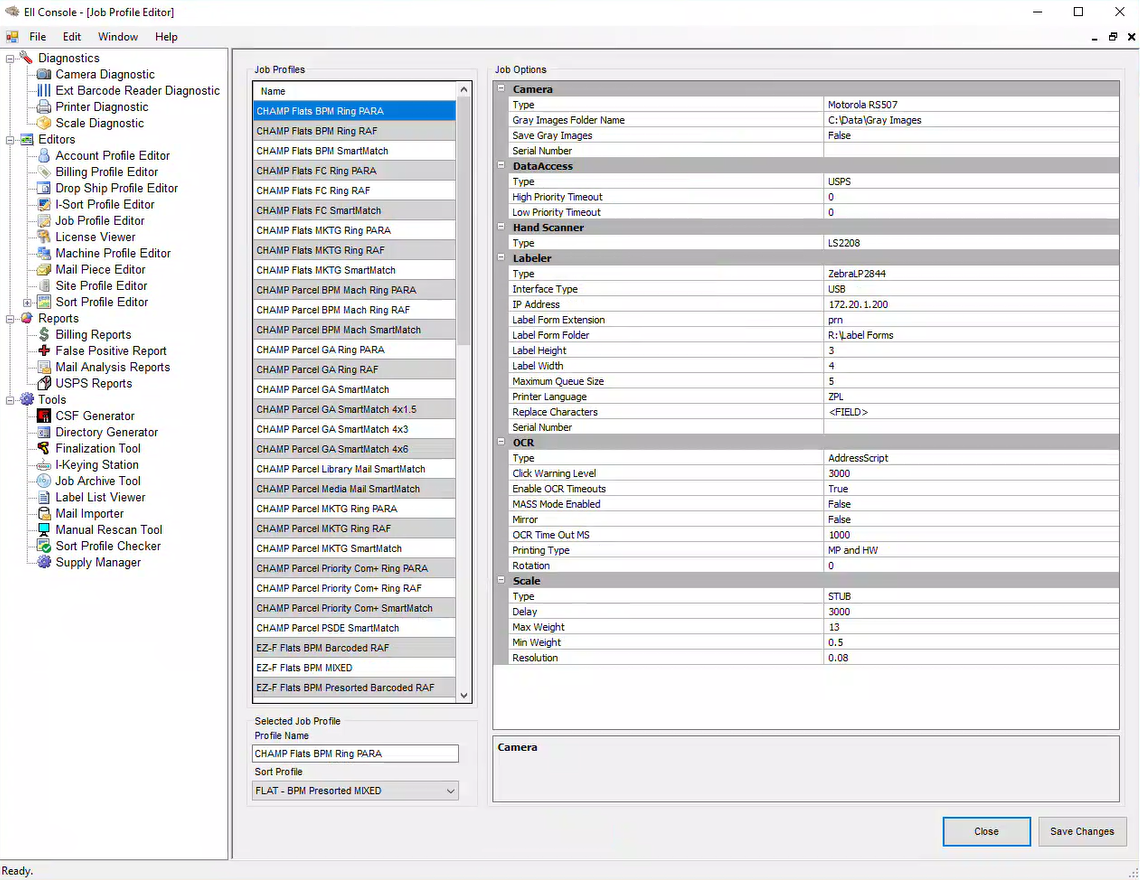
- In the Job Profile Editor, right-click on a job profile to copy from the "Job Profiles" list.
A pop-up menu will open.
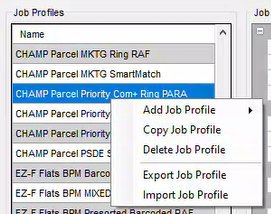
- Select the "Copy Job Profile" option.
A new profile will be generated and added to the bottom of the "Job Profiles" list.
Select the newly created job profile, give the job profile a new name in the "Select Job Profile" section.
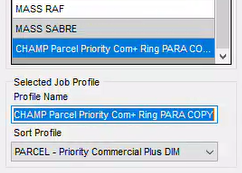
The name should indicate that this profile is a Dimensioner-compatible job profile, something like "[Job Profile Name] - DIM" or "[Job Profile Name] + DIM".
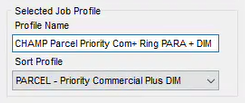
Click on the "Save Changes" button to save the job profile.

Reselect the job profile from the list.
In the "Job Options" section on the right, locate the "Scale" component in the list.

- Click on the drop-down list for the component's "Type" setting and select the "MTPS30" option from the list.

The settings for the component will change slightly. These settings do not need to be edited.
Right-click anywhere on the "Job Options" section.
A pop-up menu will open.
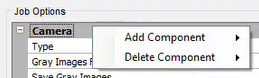
- Select the "Add Component" option.
A second pop-up menu will appear.
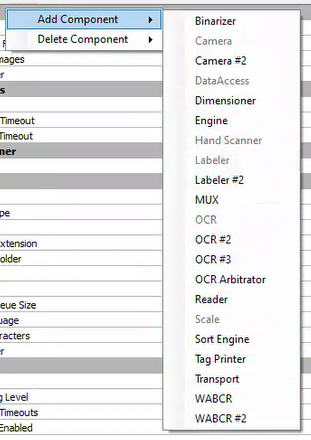
- Select the "Dimensioner" component.
The "Dimensioner" component will be added to the bottom of the "Job Options" section.

Scroll down to the "Dimensioner" component.
Click on the drop-down list for the component's "Type" setting and select the "RealSense Dimensioner" option from the list.

The settings for the component will change slightly. These settings do not need to be edited.
Click on the "Save Changes" button to save the profile.
Processing Mail with the Dimensioner
On the computer desktop, click on The Champ shortcut.

The Champ will open.
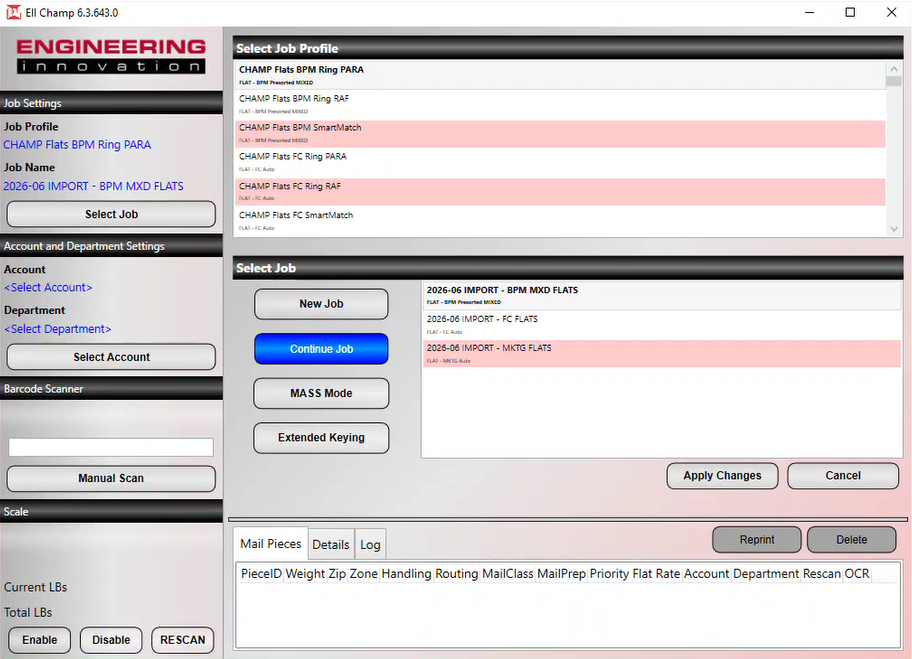
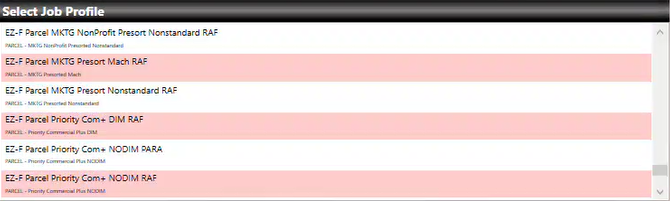
In The Champ, select a Dimensioner-compatible job profile in the "Select Job Profile" section.
Then, continue a job or create a new job in the "Select Job" section.
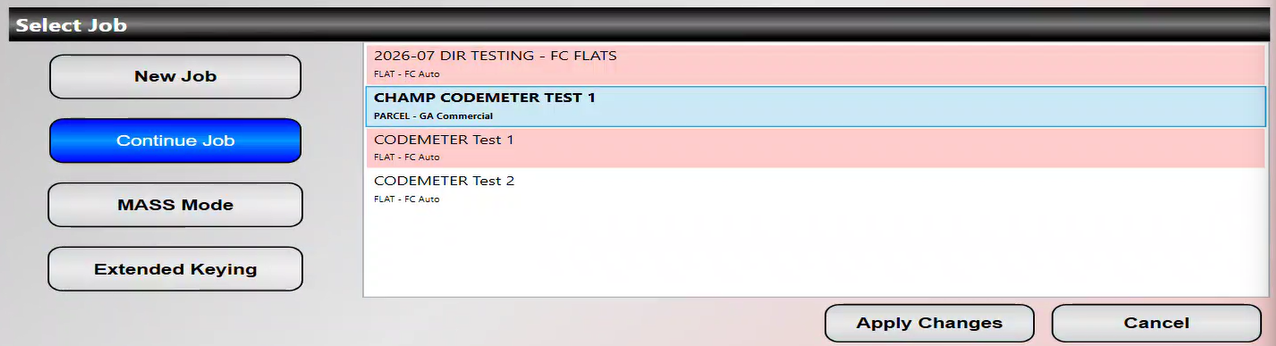
- Click on the "Apply Changes" button.

The operator will be directed to the next page in The Champ.
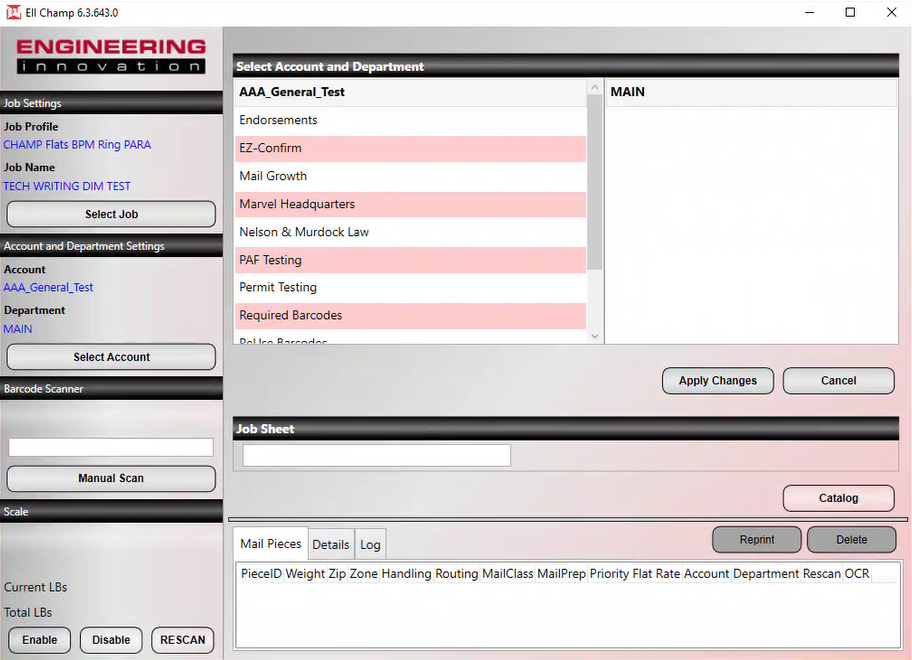
Select the account and department profiles the job will be run under.
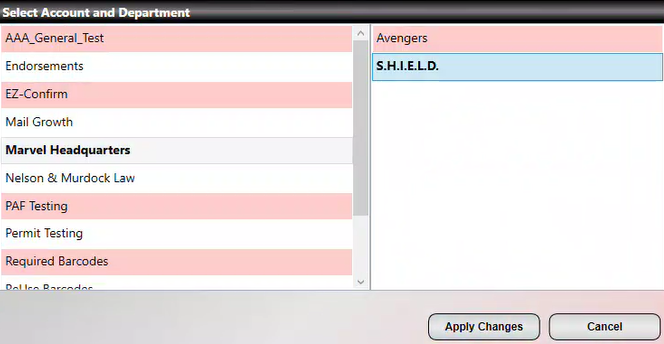
- Click on the "Apply Changes" button.
The operator will be directed to the Processing Page.
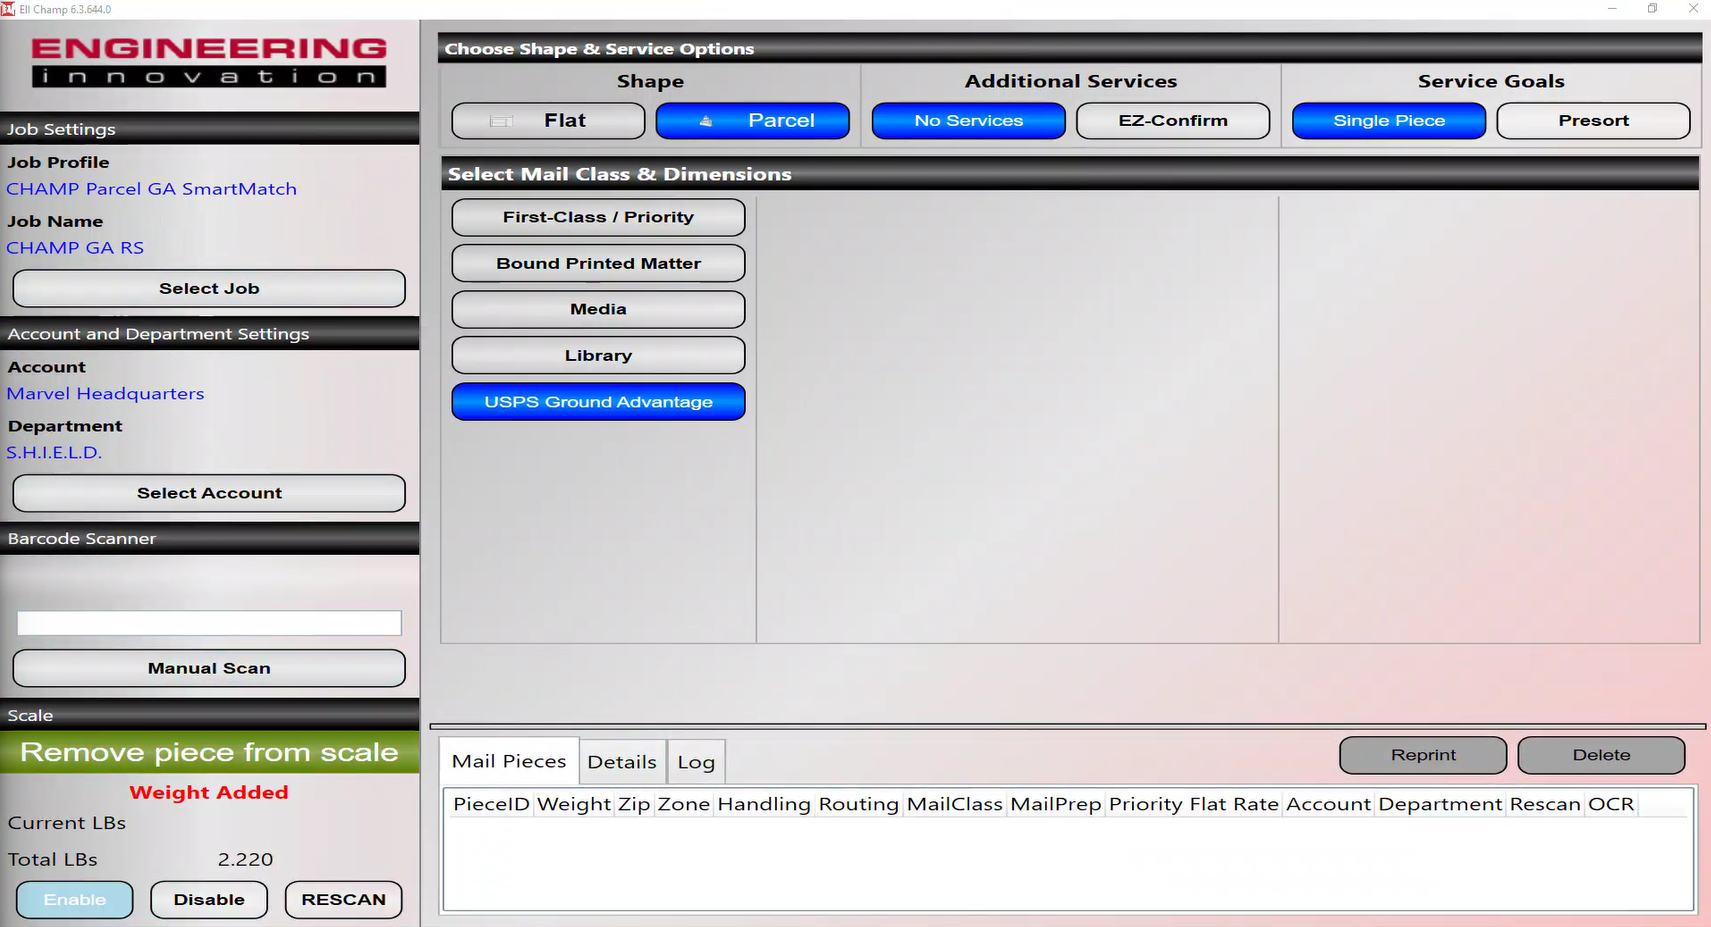
- Process mail pieces as normal.
A piece's weight will be recorded in the "Scale" section of the page.
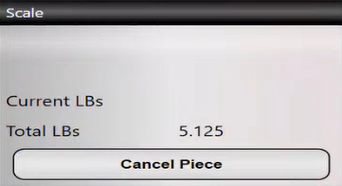
The operator can choose to key in the piece's address or scan the address with a ring scanner.
The Dimensioner will then capture the piece's dimensions and display those measurements on screen.
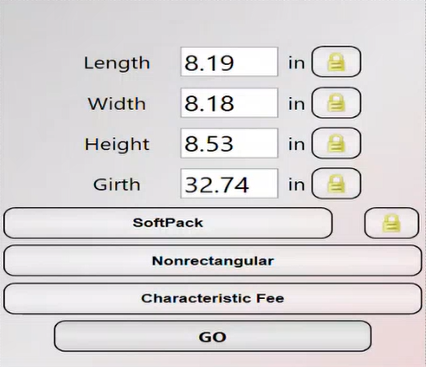
Operators can also choose to delineate mail piece characteristics and any extra service fees by selecting the "SoftPack", "Nonrectangular", or "Characteristics Fee" button options.
| Note: Normally, The Champ uses differential weighing to capture the weight of individual mail pieces. The Dimensioner is incompatible with differential weighing, so operators will need to individually place mail pieces one-at-a-time on the scale to capture weight and dimensions. |
Was this article helpful?
That’s Great!
Thank you for your feedback
Sorry! We couldn't be helpful
Thank you for your feedback
Feedback sent
We appreciate your effort and will try to fix the article